Templates
PRINCIPLES OF WORK OF TEMPLATES
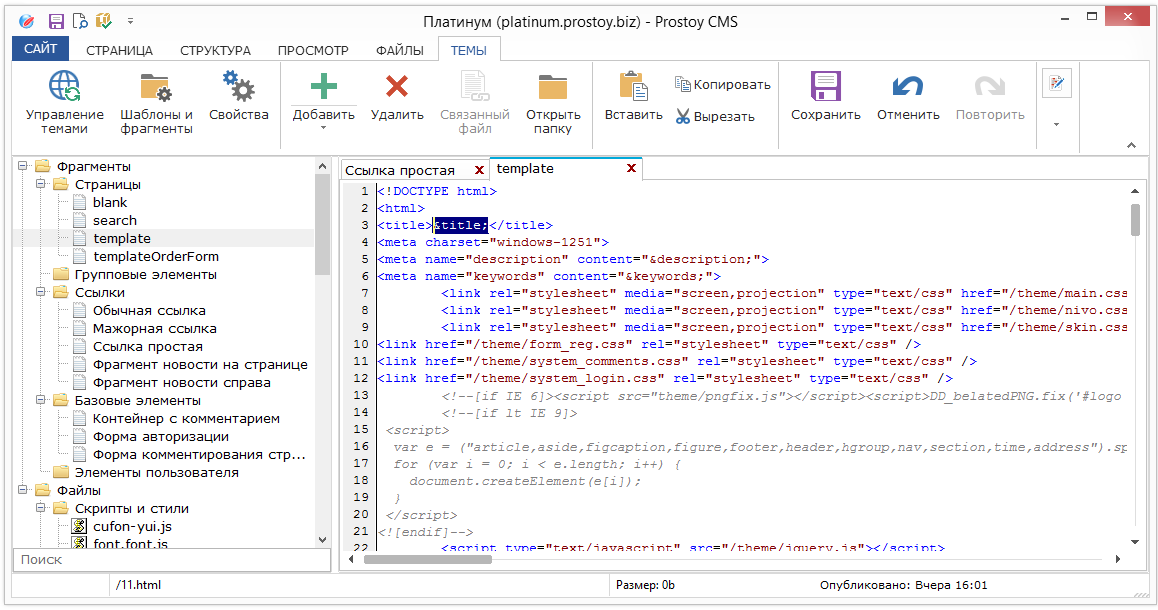
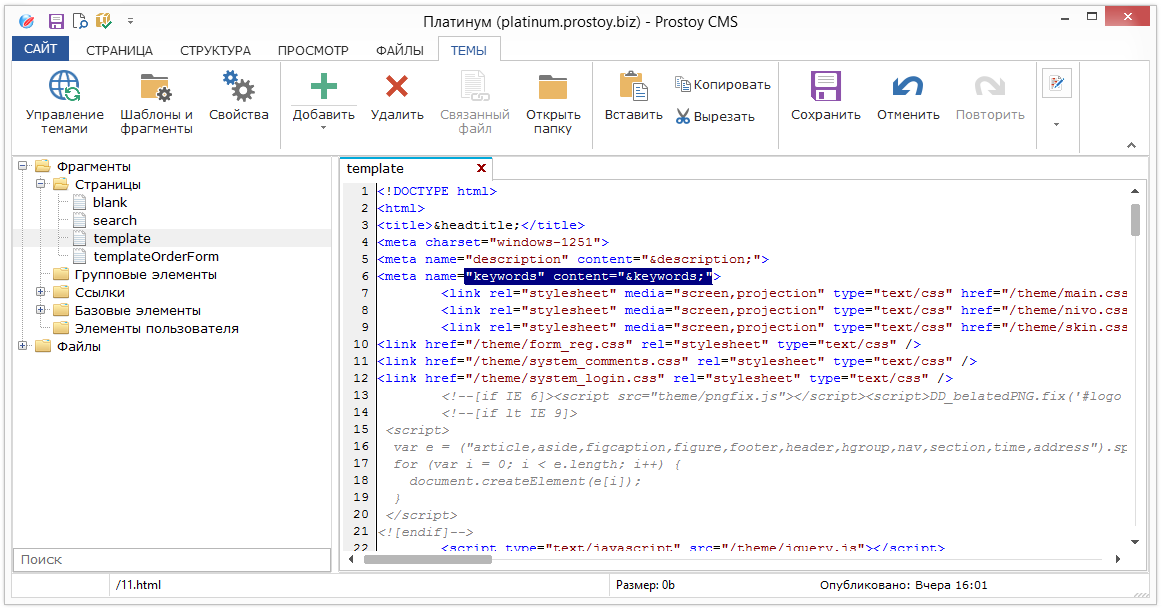
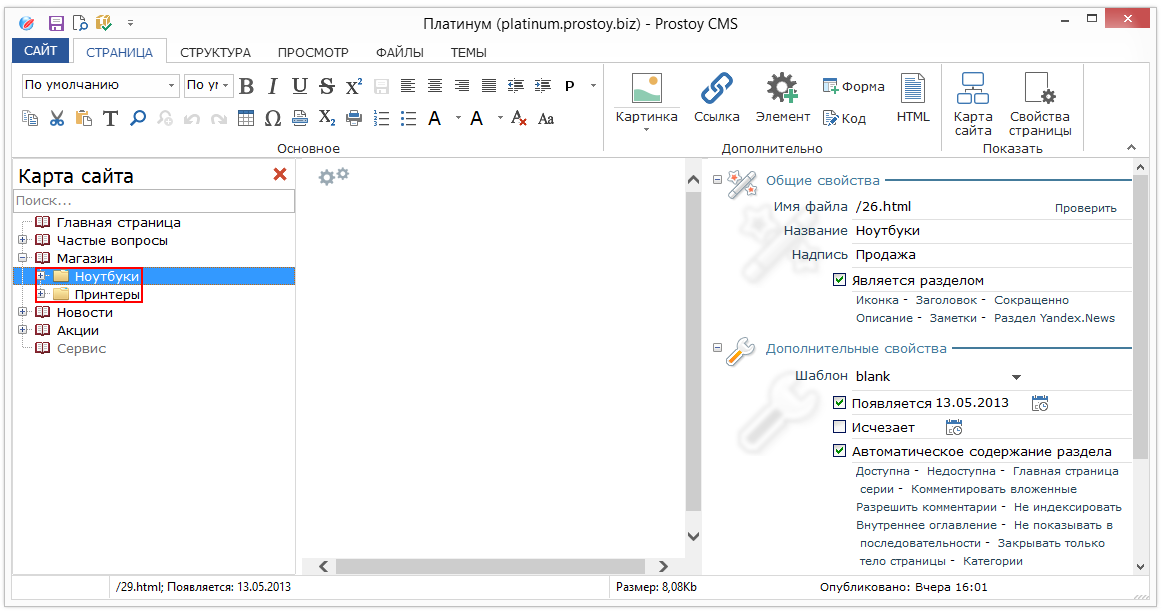
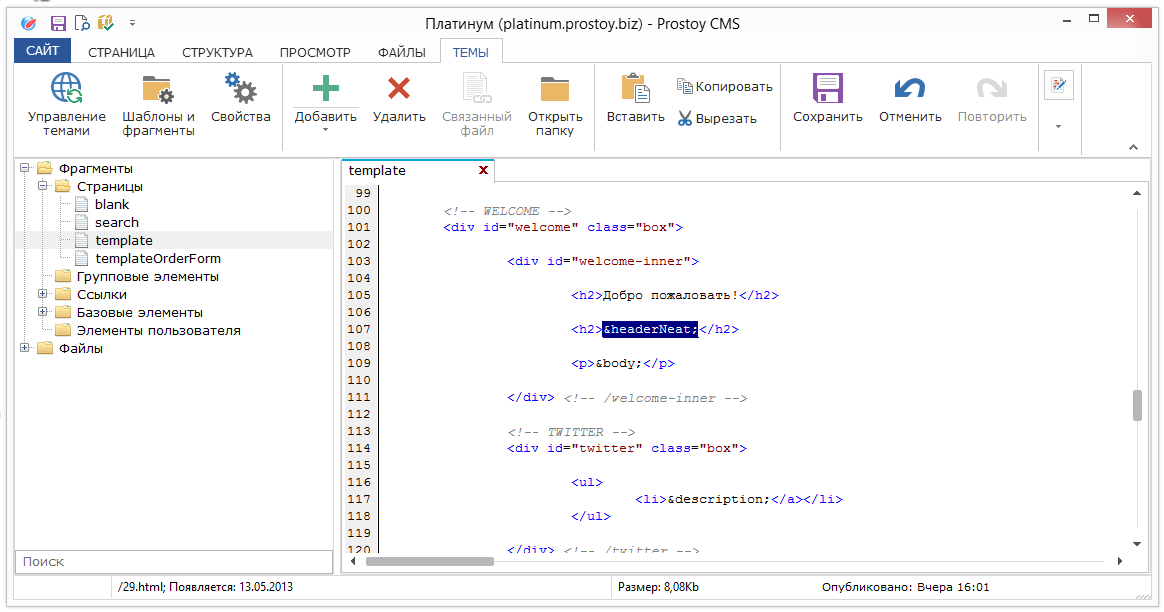
Themes tab
The tree is represented by two main groups: "Fragments" and "Files".
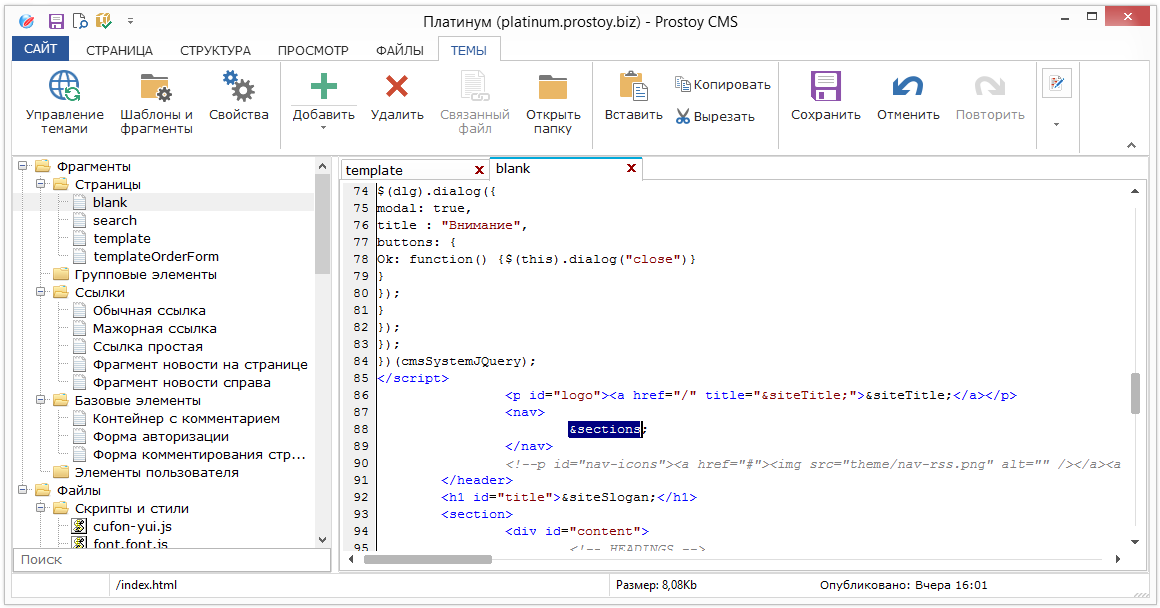
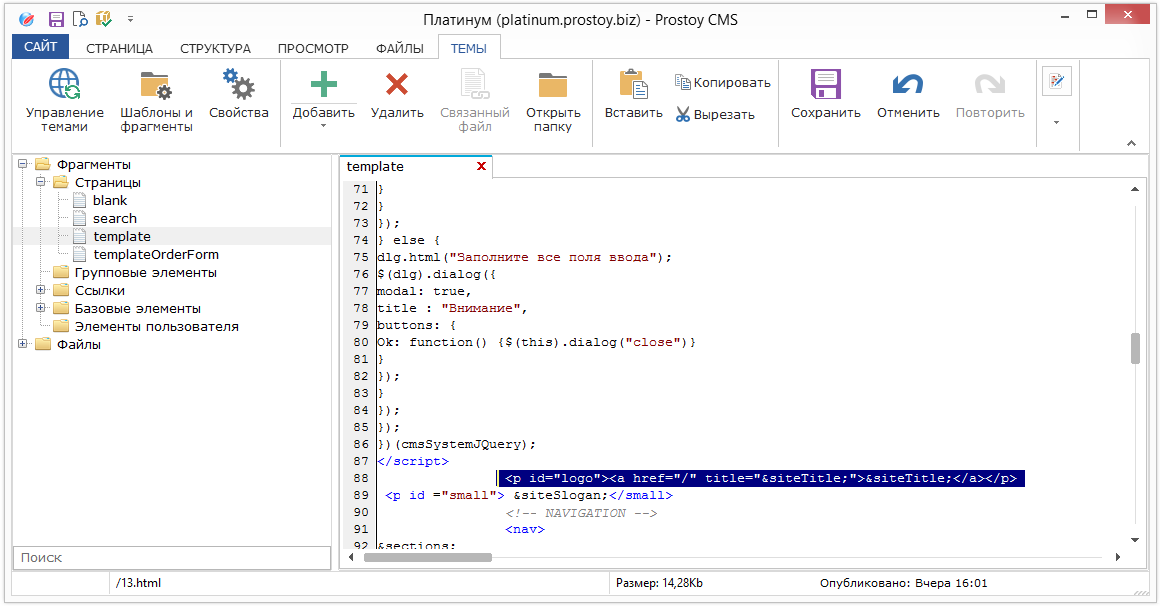
The right side of the "Themes" tab is a workspace, it is intended for editing theme files.
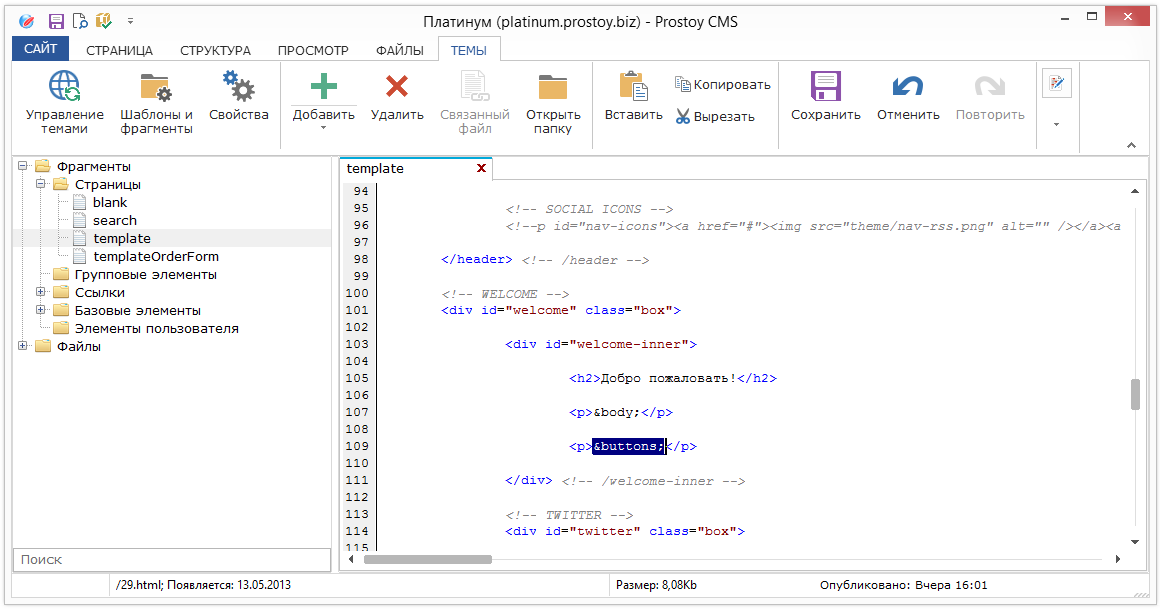
When you click on any fragment, an editor opens, which is an area in which you can change the contents of text files. These include page fragments (templates), style sheets, and script files.
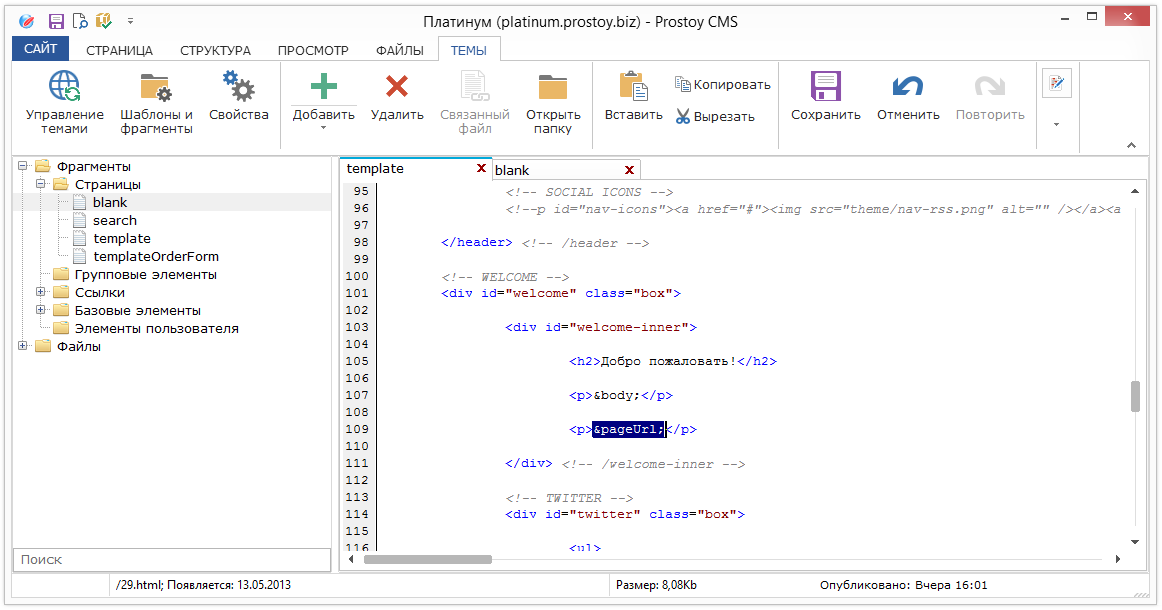
It is possible to open several text files for editing at once, they will be opened in different tabs. When you close the CMS, the legend of the open tabs is automatically saved. When you close a single tab, the system displays a message stating whether you want to save changes to the file.
Here in the panel are available the functions:
- "Save" - changes made to the template are saved;
- "Copy" - you can copy the code snippet;
- "Paste" - inserts text from the clipboard into the specified location;
- "Cut" - cut the text;
- "Cancel" - the previous action is canceled;
- "Repeat" - if the action was canceled, you can return it;
- "Search" - search is performed by code (is being finalized);
- "Replace" - the found fragment is replaced;
- "Entity" is the button for invoking the inset window.
The "Fragments" group includes pages, group elements, links, basic elements and user elements.
The main and main component is the "Pages" group. It stores templates for pages. Each template is an HTML code with inserts of special elements, such as "& title;", "body", "& keywords;" and others. These elements are systemic, and the corresponding data will be substituted instead. More detailed information about special elements can be found in the section "Additional Functions".
Each page has a context menu.
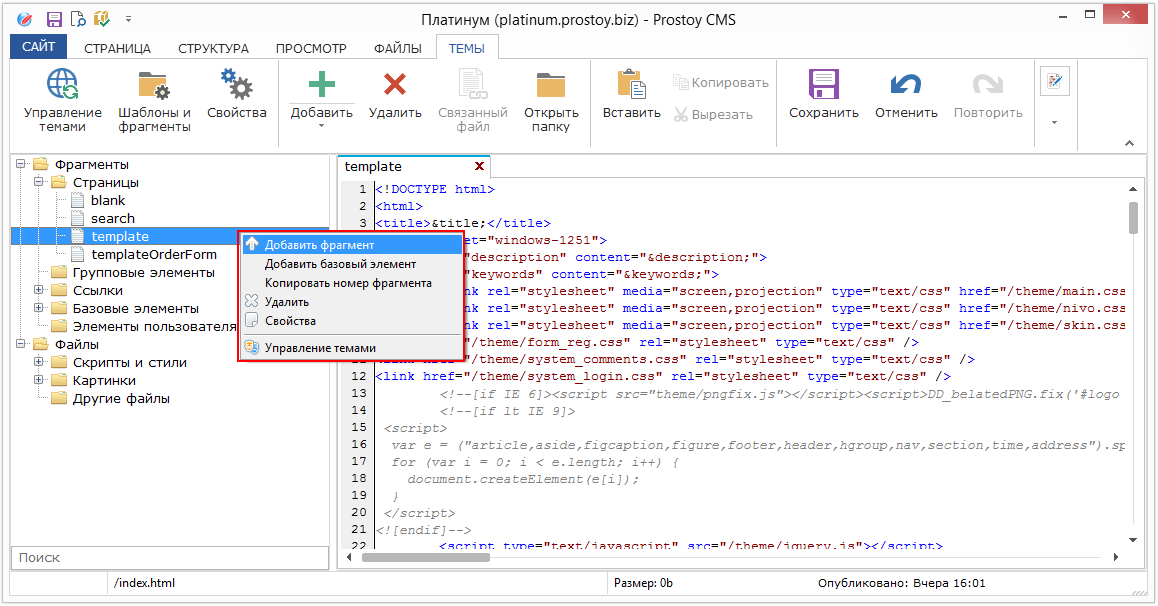
Menu items, menus on the "Pages" group:
"Add fragment" - adds a new page of the template;
"Delete" - deletes the created template;
"Properties" - opens the window for editing the properties of the template file;
"Management of topics" - opens a window for selecting the basic theme available in the CMS.
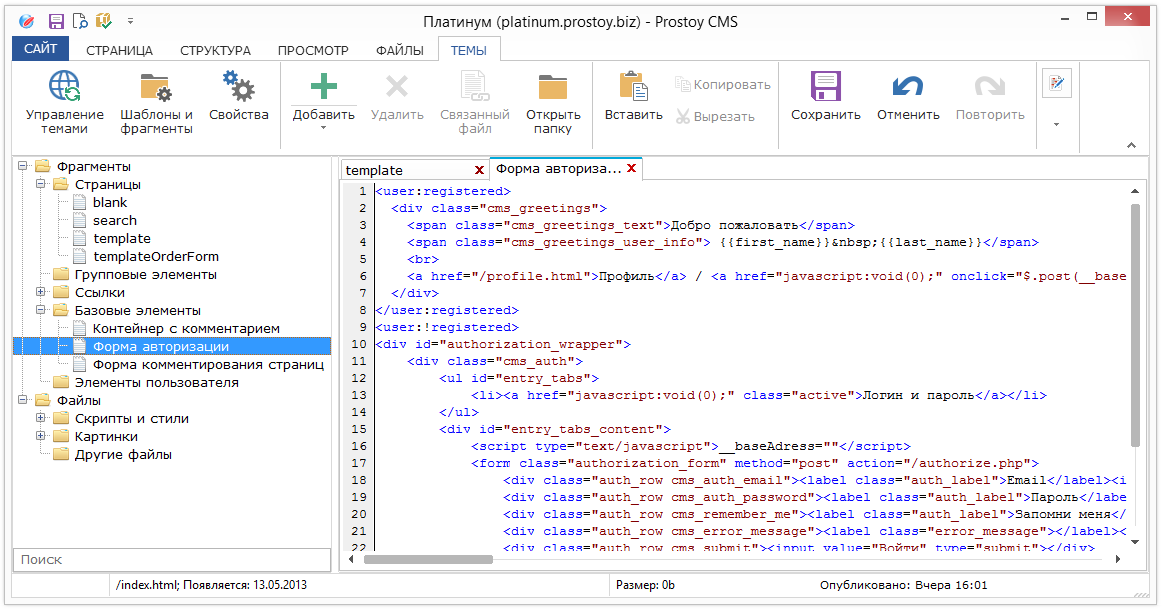
In the "Basic Elements" block are templates of the order panel, order form, page comment form, search pattern. Here you can add your own template, as well as edit the basic ones. These templates can not be deleted.
The Files group contains 3 folders: Scripts and Styles, Pictures, and Other Files.
In the folder "Scripts and Styles" files are stored that participate in the structural description of the site layout or files of additional dynamic functionality, they include:
- Cascading style sheets CSS (* .css);
- Files of javascript scripts (* .js).
In the folder "Pictures" are stored images that participate in the design of the theme, mostly in the format png, jpg, jpeg, gif, bmp, img and others.
In the "Other Files" folder, any user files that participate in the formation of a single site design can be stored, for example, it can store multimedia files on the Adobe Flash platform (* .flv, * .swf), mp3 audio files for site audio (if any installed in the theme template) and others.
You can perform a number of actions on the Files group. Conventionally, you can divide them into actions with files and actions with folders.
Folder actions include:
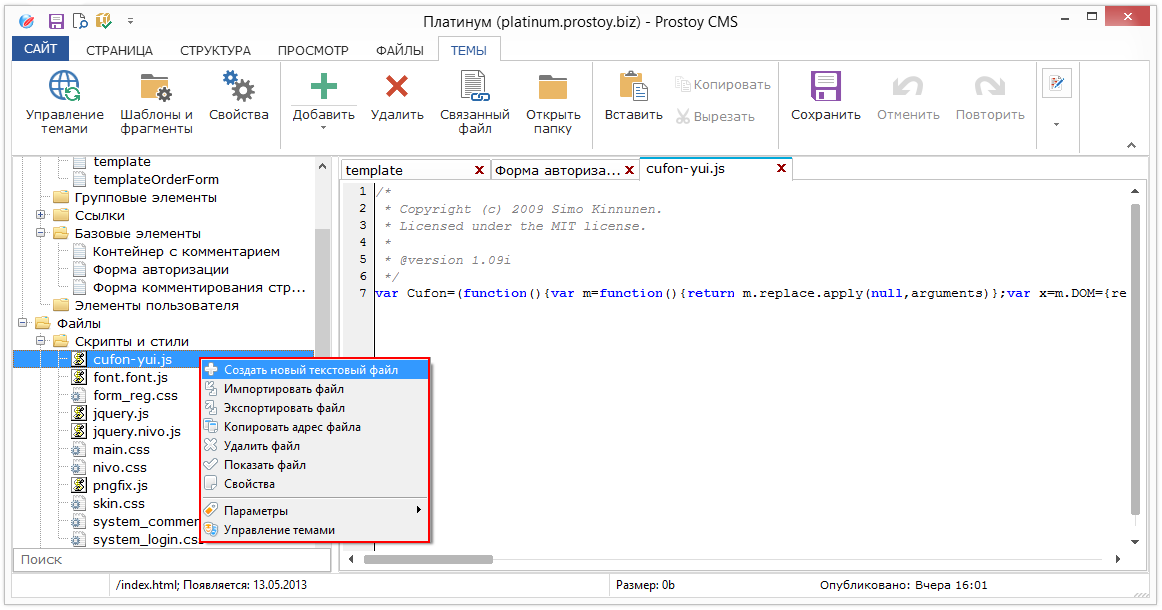
- "Create a new text file" - a new file is created in the selected folder and can be edited. By default, the new file will be "NewFile-1.txt";
- "Import file" - calls the window for adding a file from the hard disk of the user's local computer.
The rest of the actions are not possible with the folders, and will be inactive in the context menu.
Actions on files:
- "Create a new text file" and "Import file" will work in the same way as described above, the difference is that the folder for inserting a new / imported file will be automatically determined as the folder in which the file is located, the context menu of which was called;
- "Export file" - allows you to save the file to any place on the hard disk of the user;
- "Copy file address" - copies the link to the clipboard to the file, in the format of an electronic link to the site in the Prostoy CMS system (for example, my-site.prostoy.info/theme/main.css);
- "Delete file" - deletes the selected file;
- "Show file" - opens a file in the work area for editing or viewing, if the editor allows you to work with this type of files;
- "Properties" - brings up the properties menu of the file, it is completely similar to the properties menu for fragments.
Options:
"Connected file" - if this option is selected, then when you change the contents of this file on the hard disk, it will be automatically loaded into the template.
"Physical file" - if this option is selected, the file will be permanently downloaded to the hard disk always (when opening the CMS, making changes, etc.);
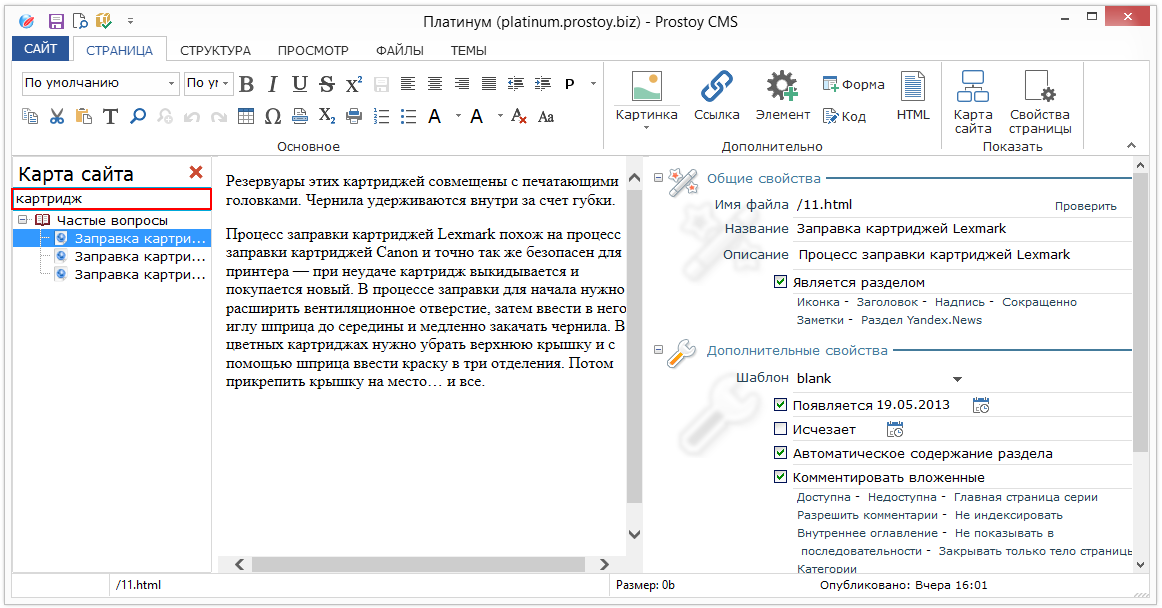
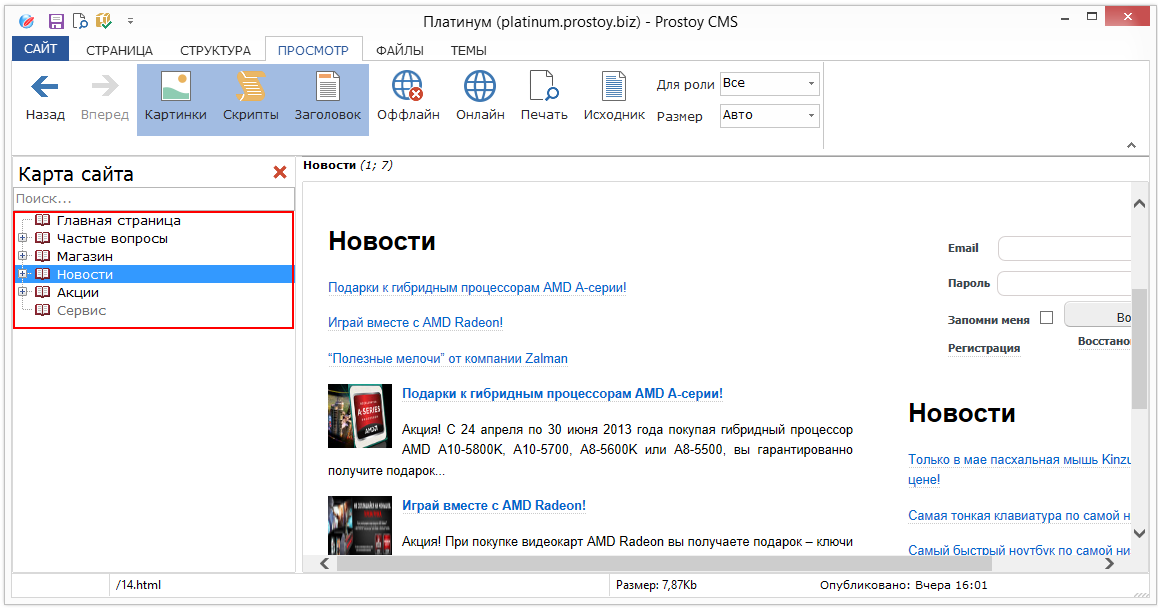
Search field
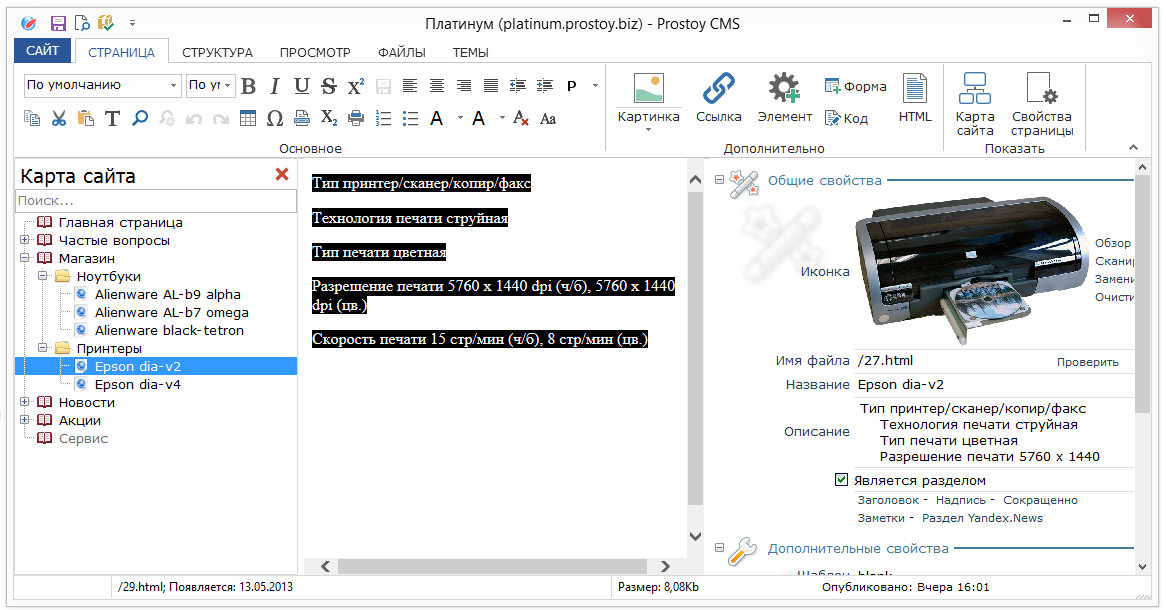
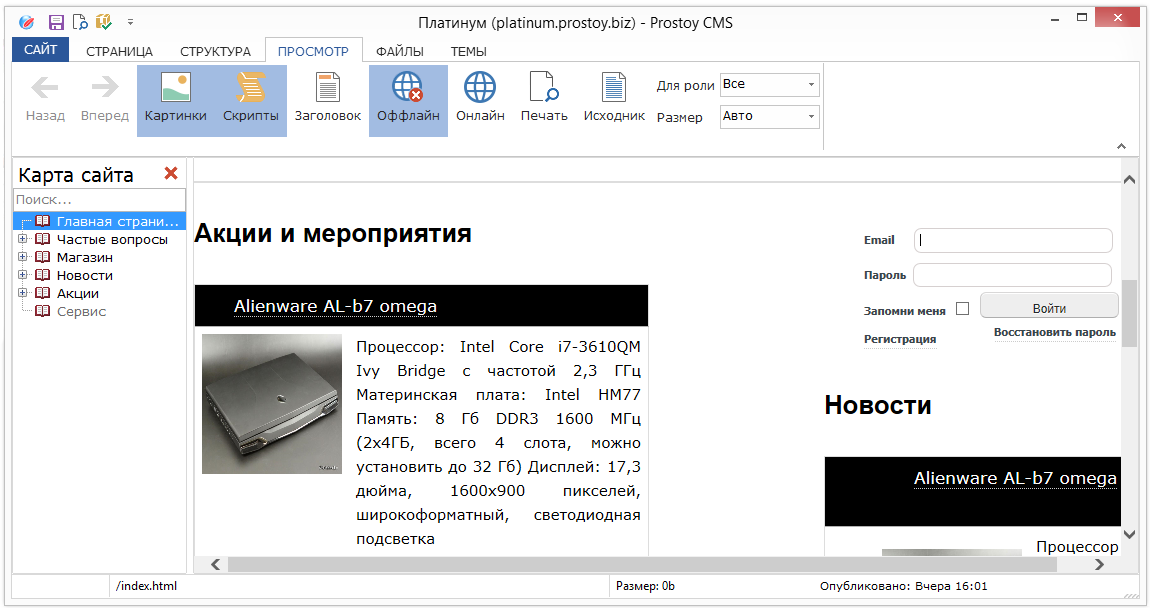
Search on the site map, is carried out by headings, by content and by page names.
If the search is successful, the results will be displayed immediately in the search bar. The user can edit the search results as regular pages on the Site Map tab.
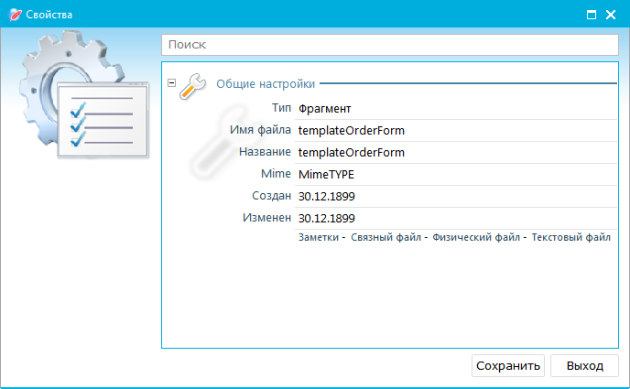
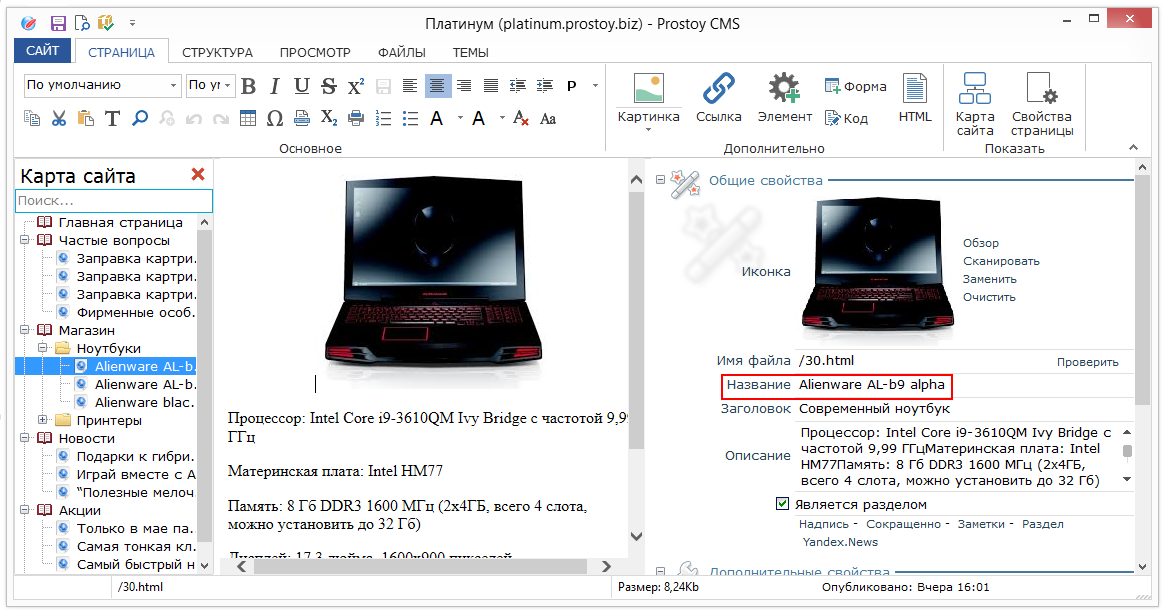
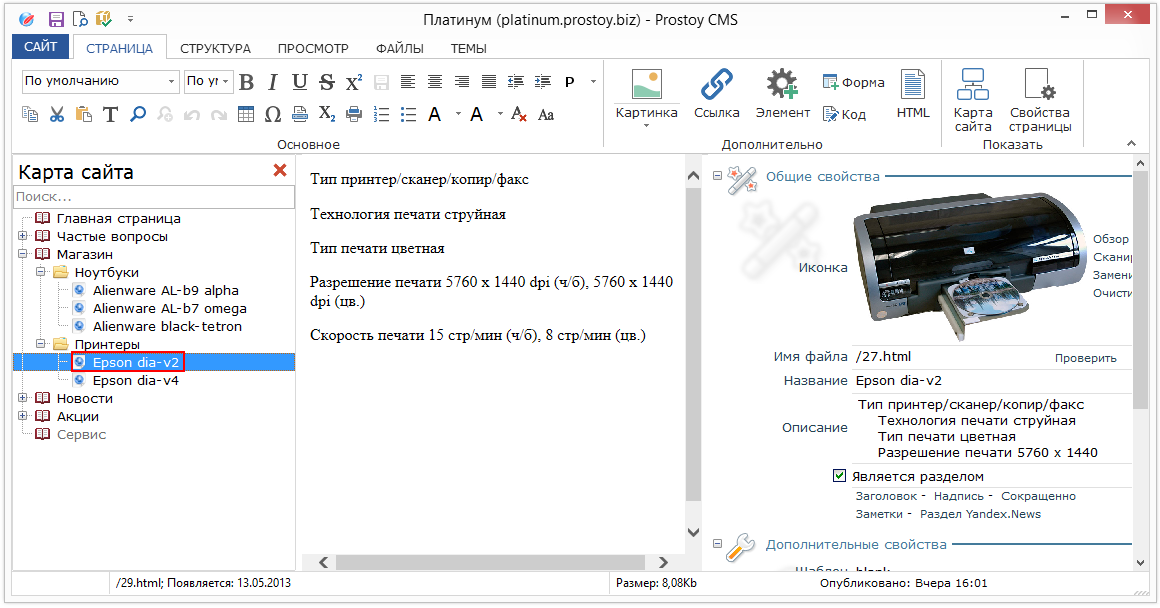
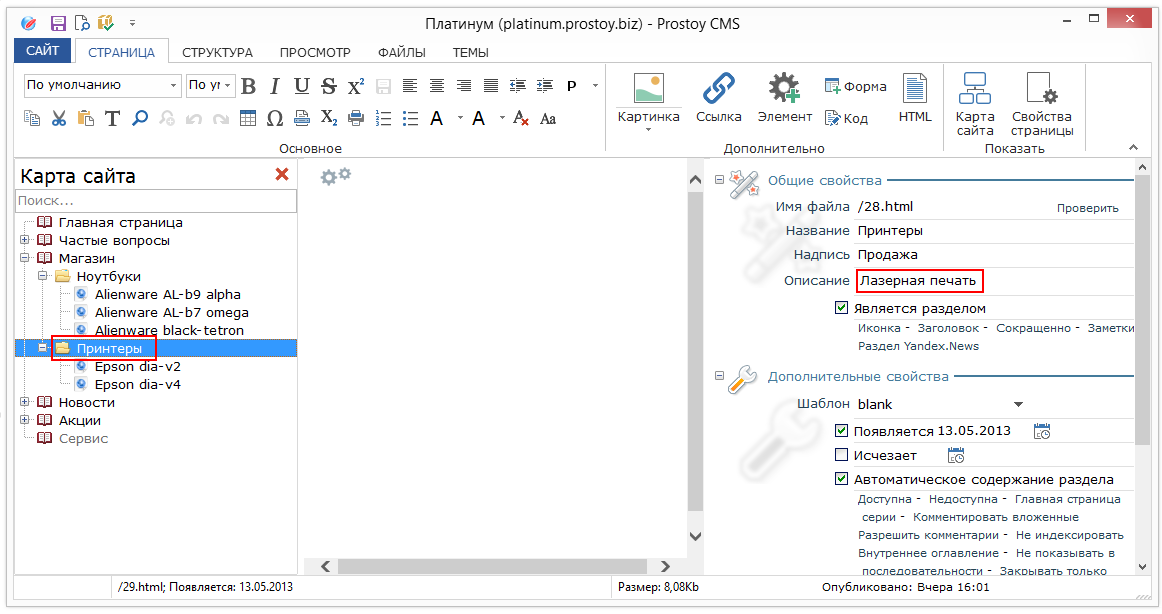
Template properties window
You can launch the template properties window by using the "Properties" item of the context menu on the template.
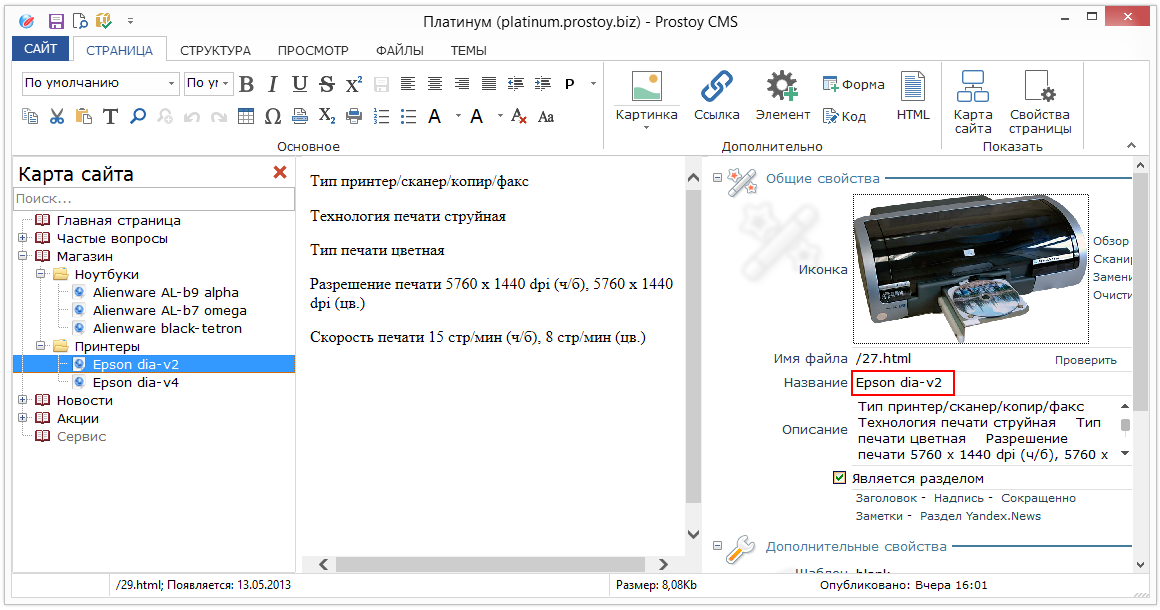
For the user, the main fields that can be changed are:
- "File name" is the physical file name that the template will have on the hard disk;
- "Name" - the name of the template in the template page tree;
- "Notes" - a field for user comments about a template, useful information or additional information for which this template was created;
- "Linked file" - if this option is selected, then when you change the contents of this file on the hard disk, it will be automatically loaded into the template;
- "Physical file" - if this option is selected, the file will be permanently downloaded to the hard disk always (when opening the CMS, making changes, etc.);
- "Text file" - if this option is selected, the template will be stored in the usual txt format;
ELEMENTS OF THE TOPIC
The elements of the page make it easier to edit the pages of the site:
&title; - The title of the page. Typically, it is placed in the title tag of the page code. When the page is published, instead of this element, the page header text specified for each page of the site will be located;

- &headTitle; Is the value of the header from the page properties;
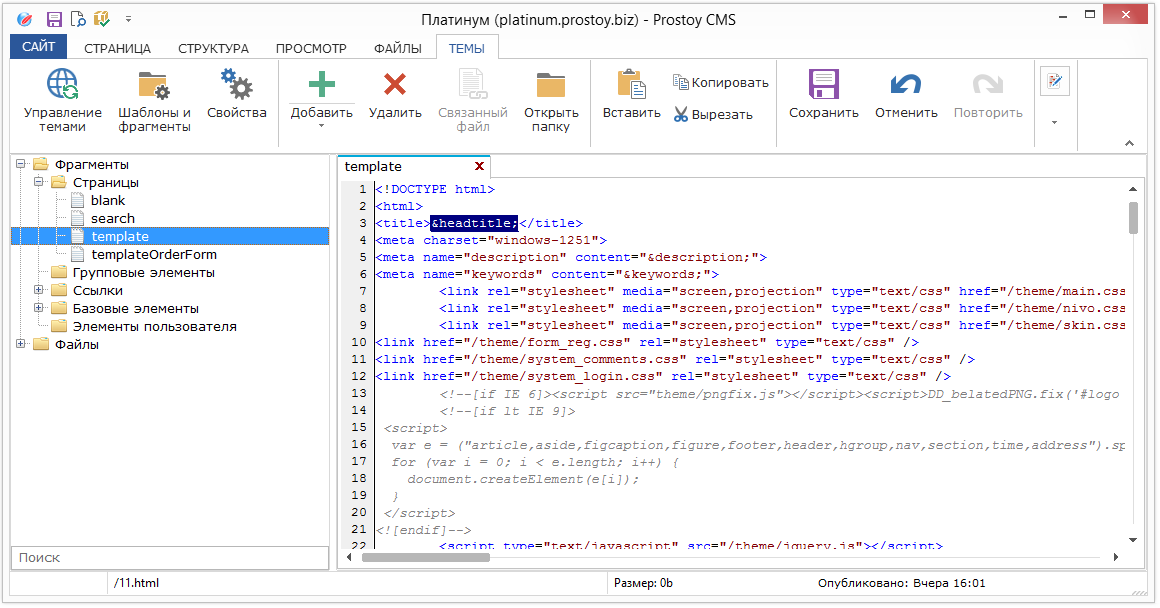
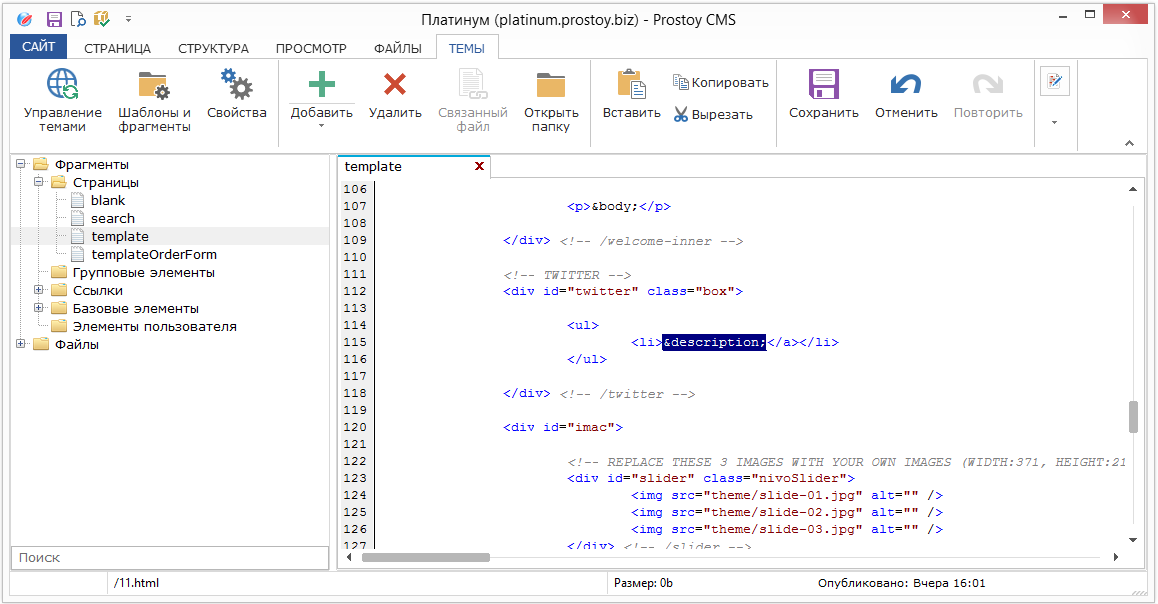
- &description; - description of the page. As a rule, it is placed in the meta tag and, when published, is replaced by the description of the page specified for each page;
- &keywords; - keywords. This element is placed in the meta tag and is replaced when published on the keywords specified in the description and the second title of the page;
- &header; - Used to display the page headers in a certain part of the site. This element differs from the title by the ability to output tags;

- §ions; This element is replaced by a list of pages of the highest level, i.e. which are represented in the tree of pages in the form of booklets;
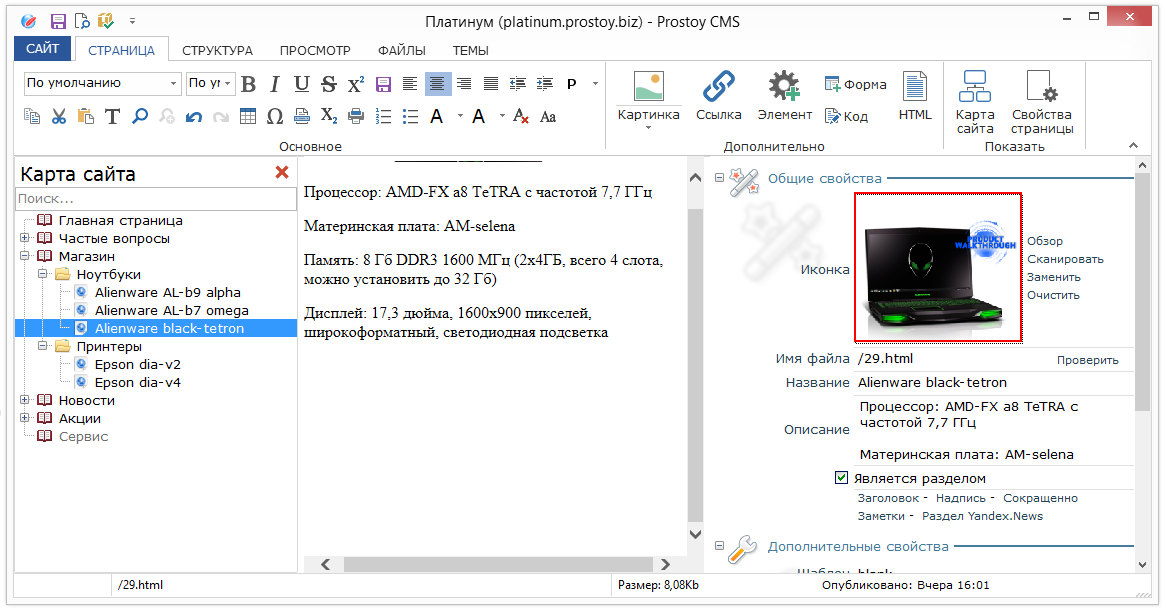
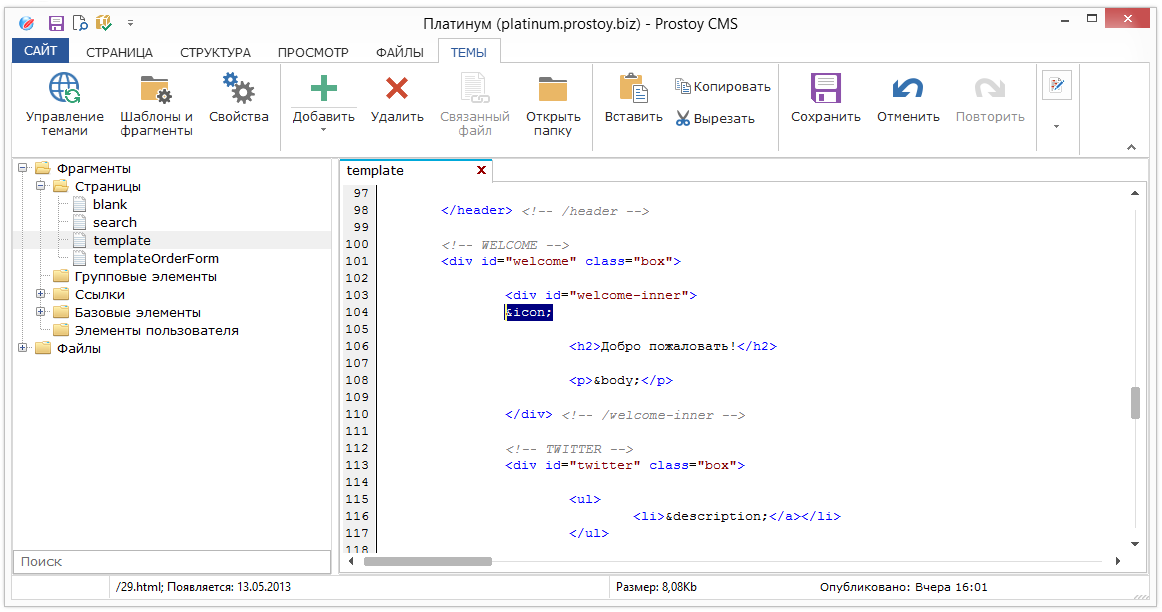
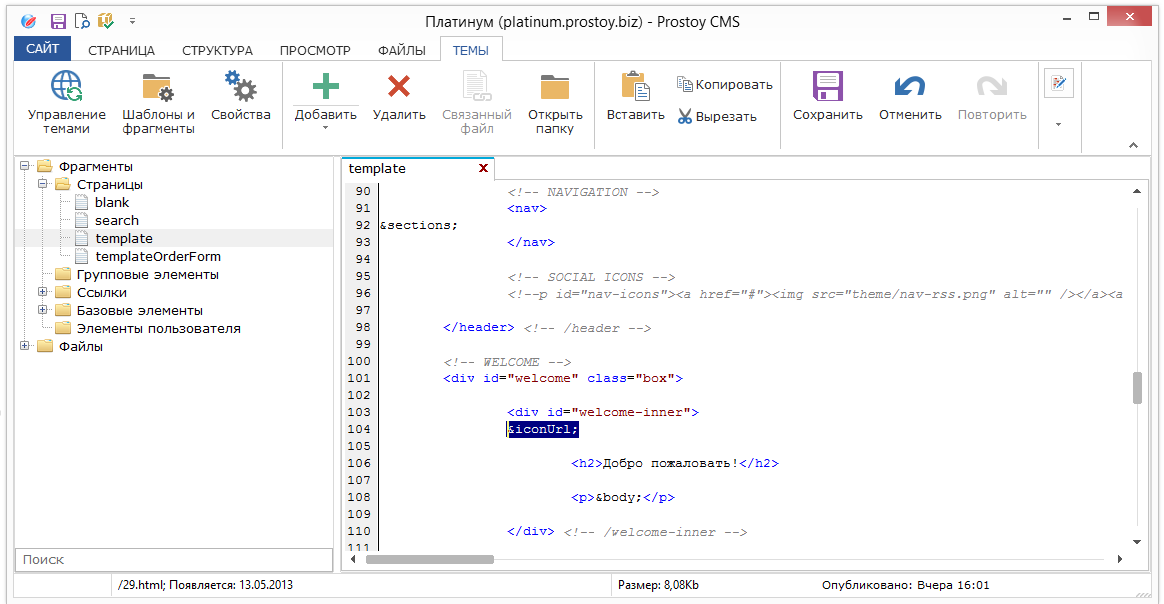
- &icon; - icon of the page. This element should be placed in the place of the page template where the icon specified in the page settings will be displayed;
- &IconUrl; – Is the relative address of the page icon. For example, «media/pics/pageIcon.png»;
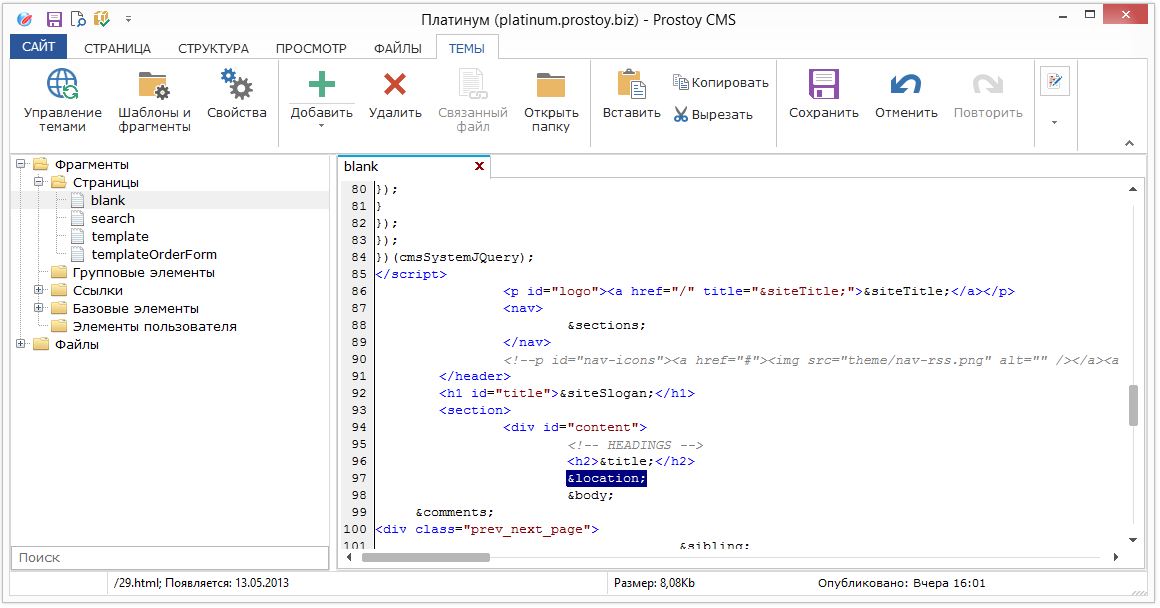
- &location; - placed in the part of the page where you want to display the current location of the site visitor;
- &sibling; - adds links to the next and previous pages relative to the current one;

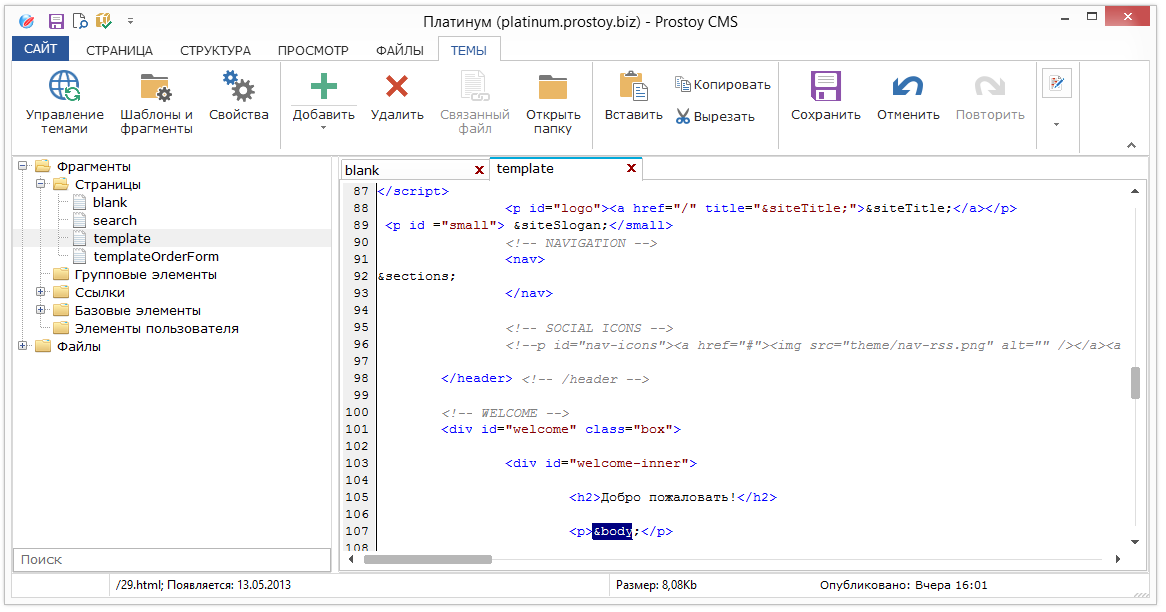
- &body; - This element is the key when filling pages with content. It is added to the html-code in the part of the code where the main content of the site will be located. When filling the pages in the editor, the content will be placed in the placement of the & body element;
- &buttons; - this element is replaced by a list of pages of the second level, those pages that are embedded in the pages of the highest level;
- &pageUrl; - the path to this page will be displayed inside the site;
- &headerNeat; - the name will be displayed without the keywords written after the first point in title 2;
- &Horison; - links to pages of the same level as the current one;

- &threeWay; - links to the previous, next and higher level page;
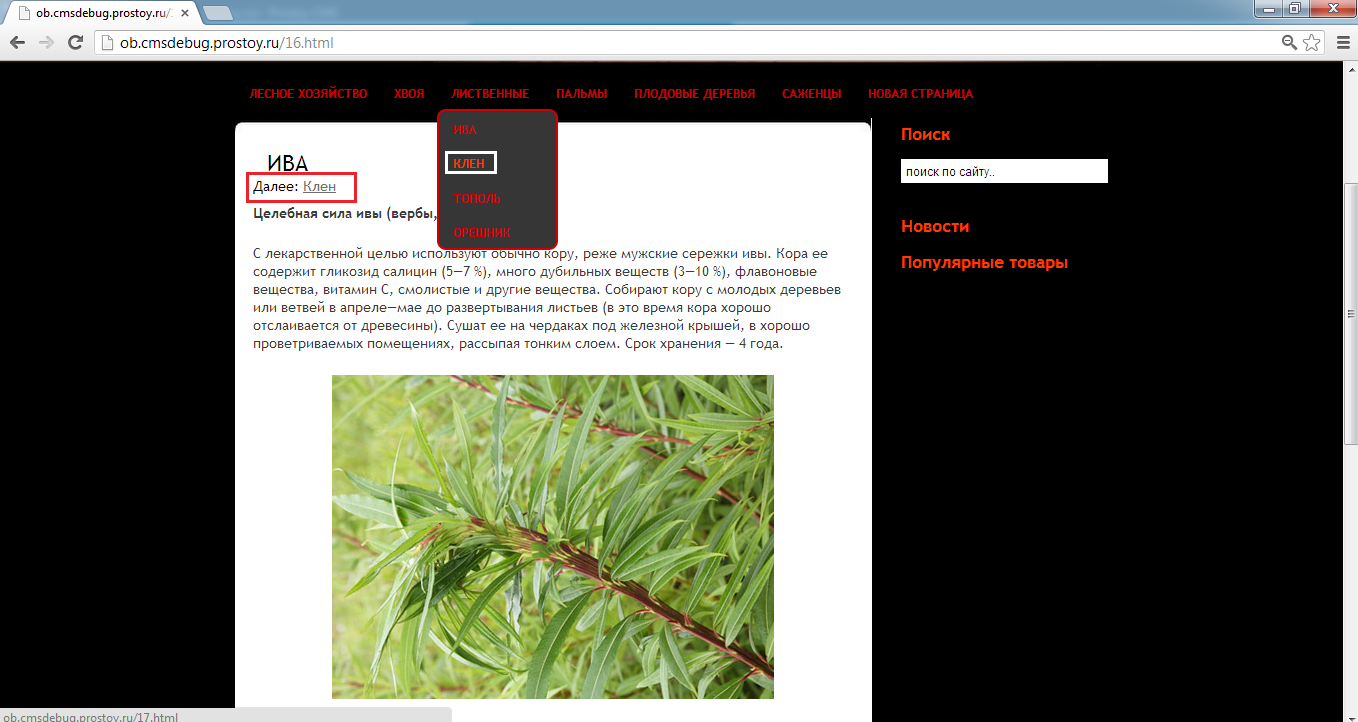
- &Next; - link to the next page;
& SectionDescription; - Description of the section in which the current page is located;
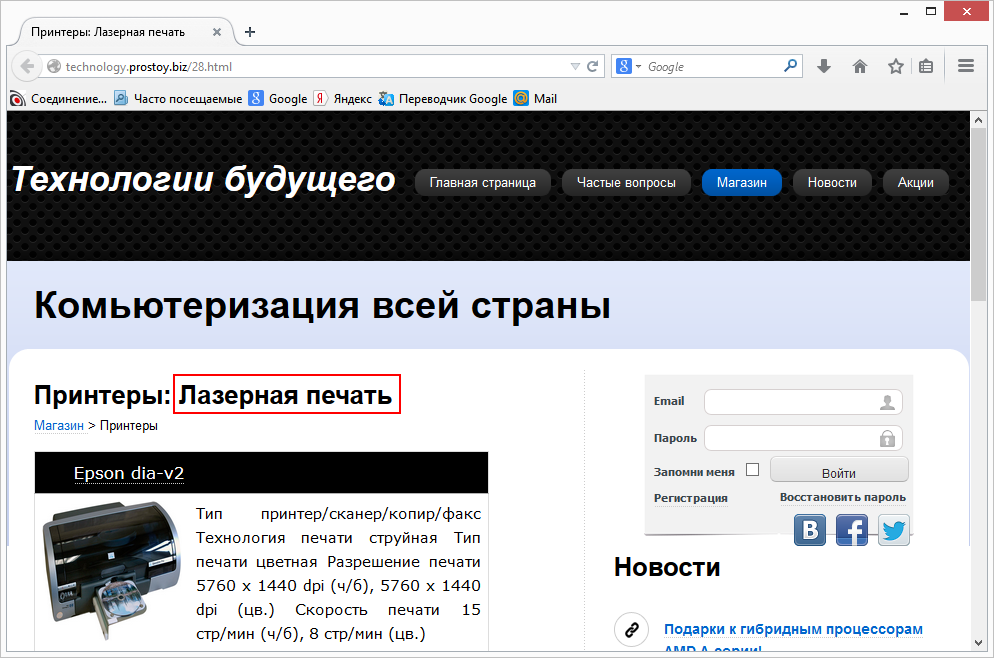
- &siteTitle; - Site name from site properties;
- §ionMenu; - The menu of the section in which the current page is located;
- &siteSlogan; - the slogan of the site from the properties of the site;
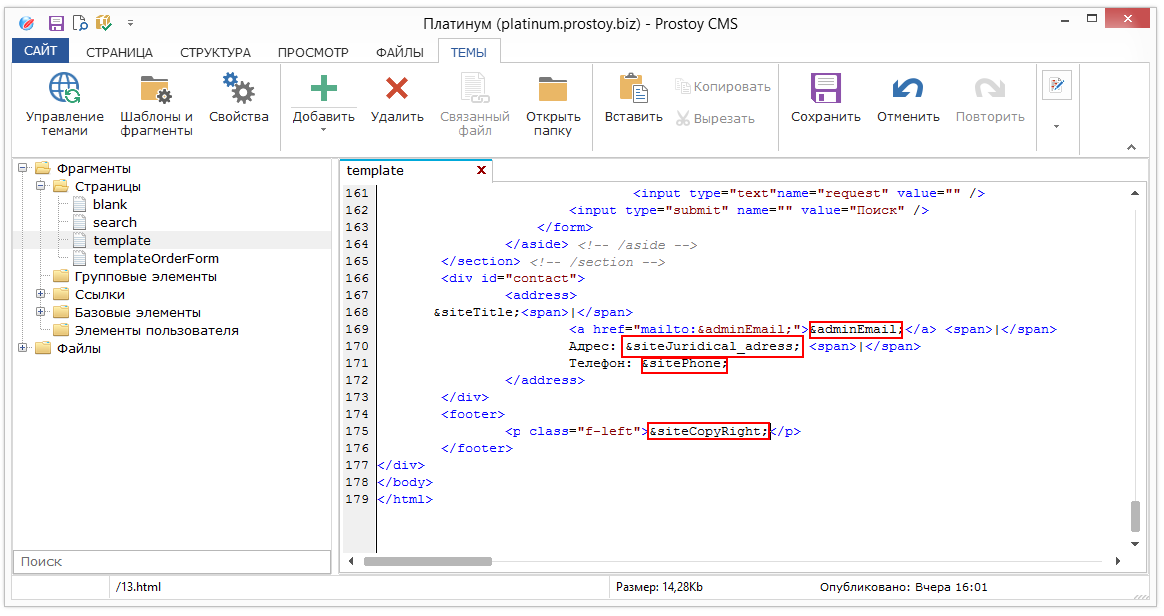
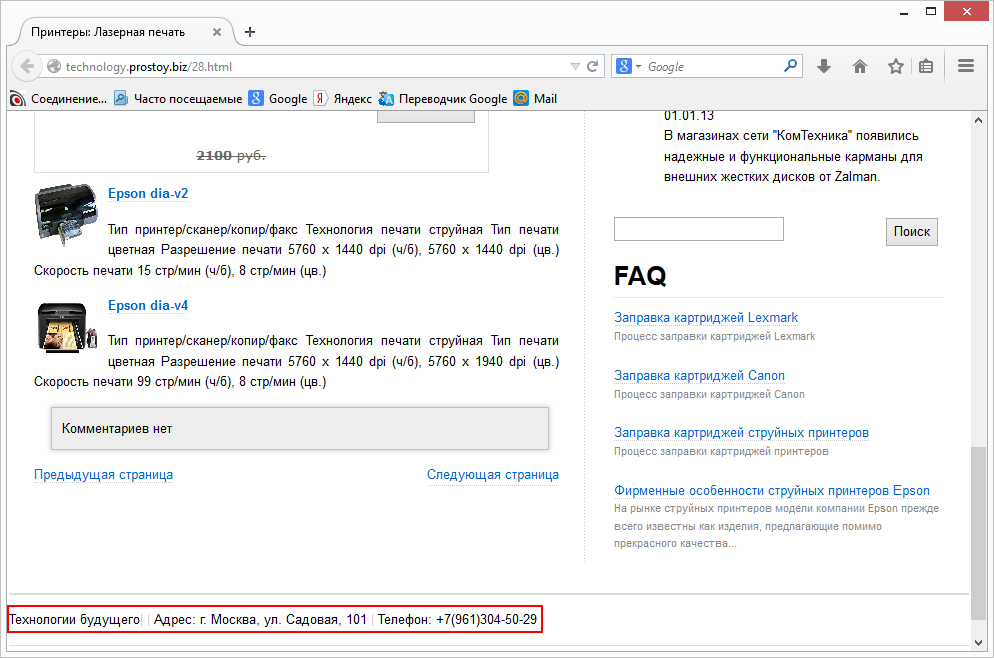
- &siteCopyRight; - Site copyright from site properties;
- &sitePhone; - contact phone number specified in the site settings;
- &adminEmail; - E-mail of the site administration, which is indicated in the site settings;
- &siteJuridical_adress; - The legal address, which is indicated in the site settings;
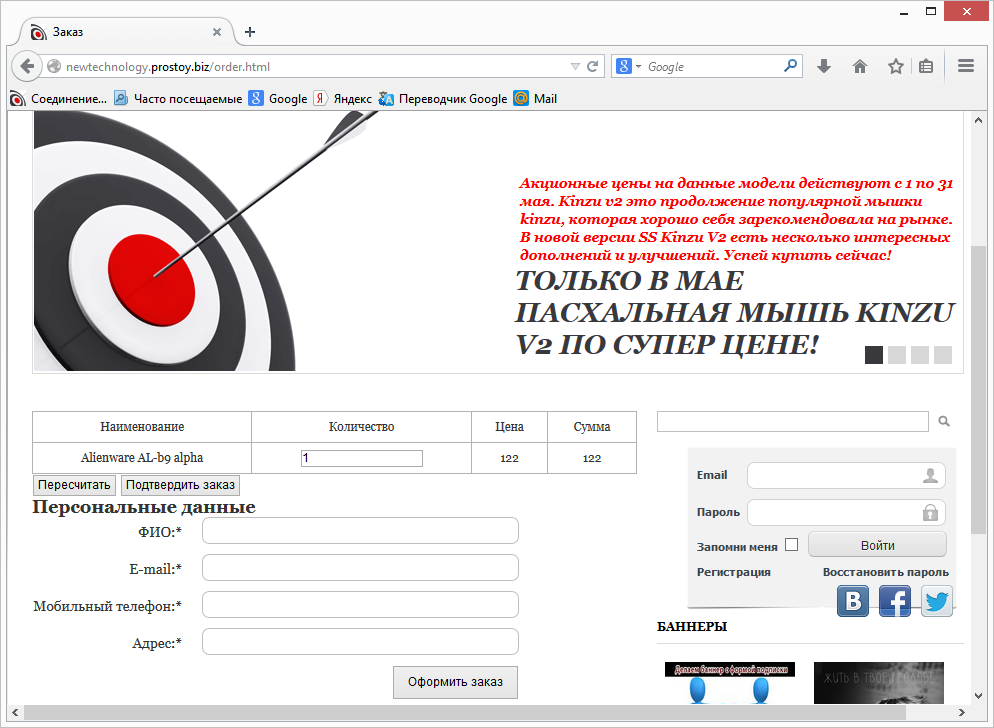
- &orderForm; - Order form;
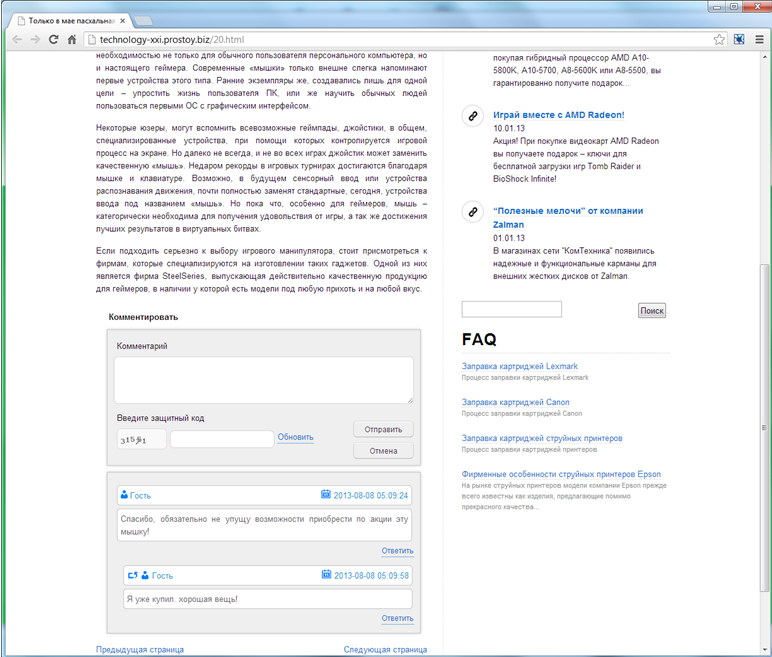
- &comments - comment form. It is added to the template in case when commenting is allowed in the site settings and comments are allowed on the page. The form is an html-code that can be edited in the topic of the site in the section Basic Elements;
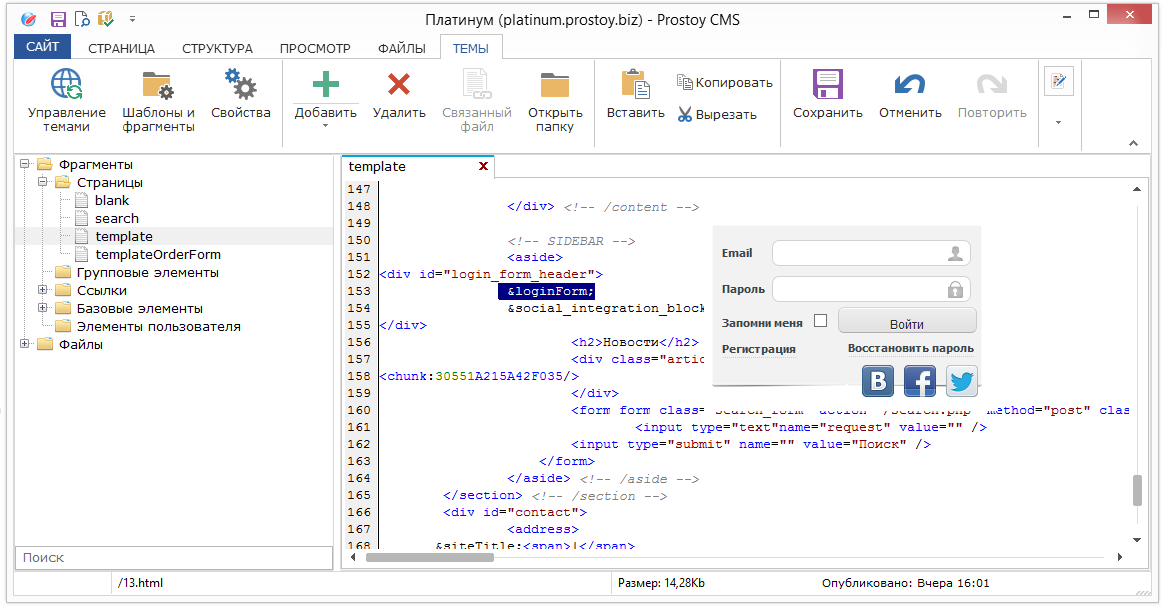
- &loginForm; - authorization form. Similarly
- <formfield: __> </ formfield: __> - With this construction, you can display the form field. For example, the order form field.
INSERTION OF EXPANDED PROPERTIES
To insert an extended property into a page:
<property: __> </ property: __> - With this construction, you can display the extended page property.
Just go to the "Themes" tab and select the desired template. After that, put the cursor in the place where this property will be displayed and select the "Entity" item.
In the "Add an Entity" window, select the "Advanced Properties" folder and select the appropriate property and click "OK".
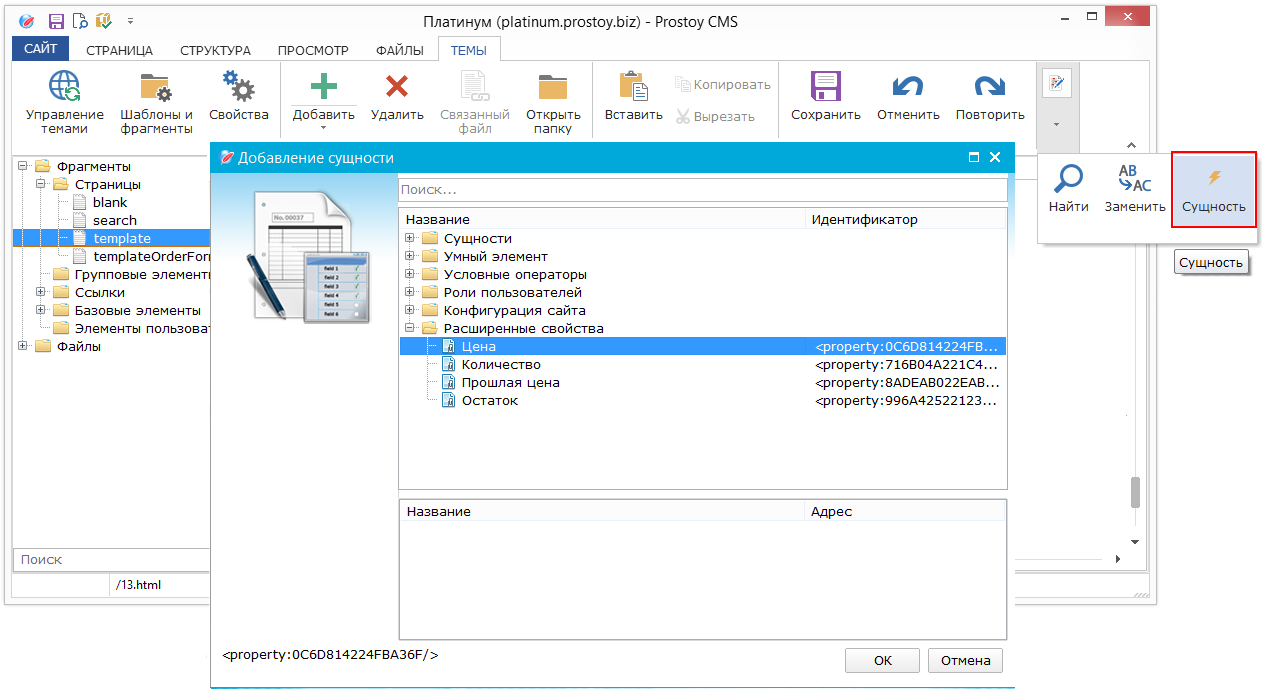
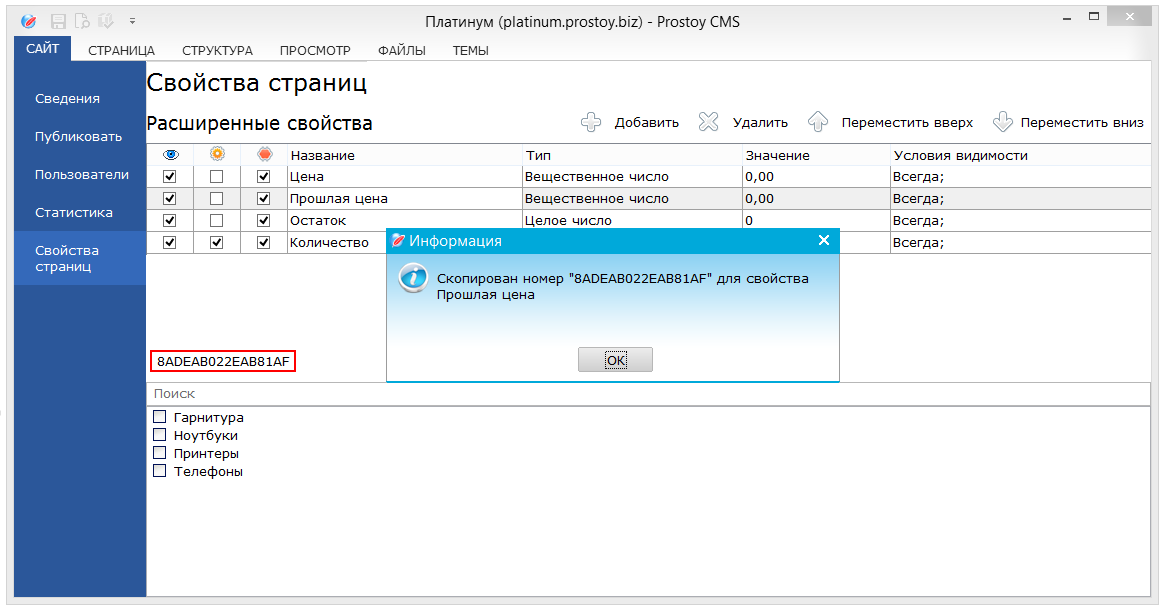
You can also copy the property ID in the extended properties window:
The identifier of the selected property is displayed in the lower left corner of the extended properties window. When you click on this identifier, it is automatically copied to the clipboard.
INSERT CHECKS
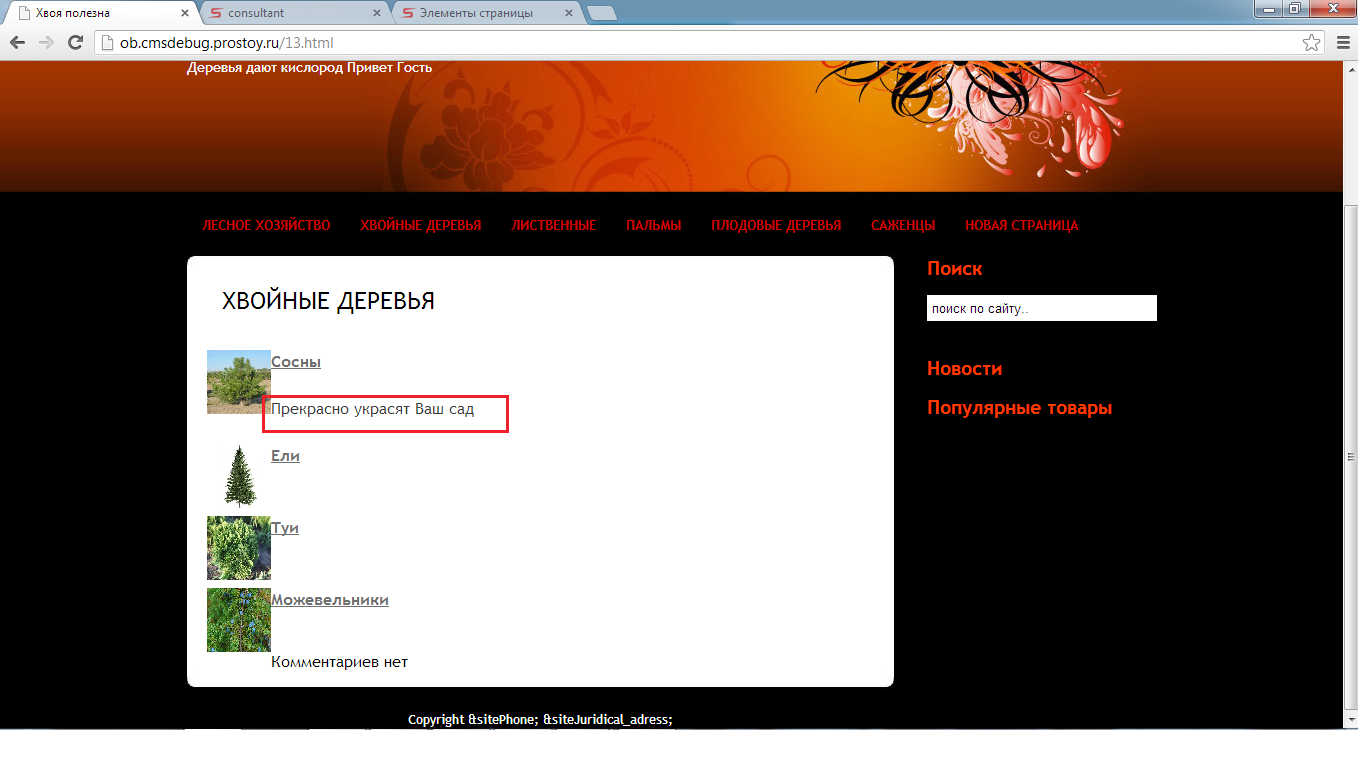
<chunk: __ /> is a smart element, used to automate the creation of content (content) of a page. The main functions of an intelligent element are the creation of lists of pages in the form of links with accompanying various information pages, which simplifies the structuring of complex elements.
With chunks, you can add "inclusions" to the site pages, which allow you to collect some integral indicators (for example, a list of pages nested in some other page of the site, etc.).
The number of chunks can be used in template files (for example, template.html) in order to insert the results of inclusions not only in the body of the page, but in any other part of the page template. Some pages can be specially used as invisible storage of inclusions (chunk). Despite the fact that the page is not displayed, if the template specifies a particular chunk, it will be executed even though it is on an invisible page.
To insert the chunk into the template, just go to the "Themes" tab, select the template. After that, call the Entity Insert window and select the desired one in the Smart Elements folder.
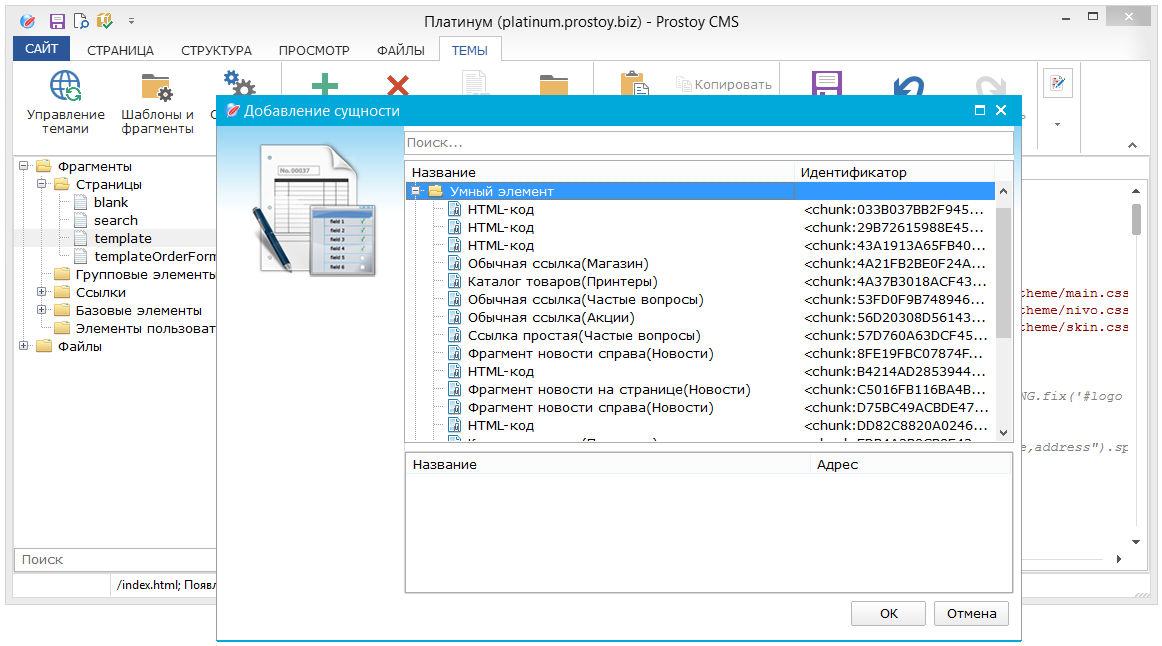
You can also insert the chunk into the page using the "Tools" menu and selecting the "Smart Element Editor" item.

Here is also a list of all smart elements of the site.
CONTINGENCY ELEMENTS
- <user: role id = "role"> </ user: id>
- a logical element whose contents will be displayed only if the current user role and the role role specified in the <user: id role> construct are equal.
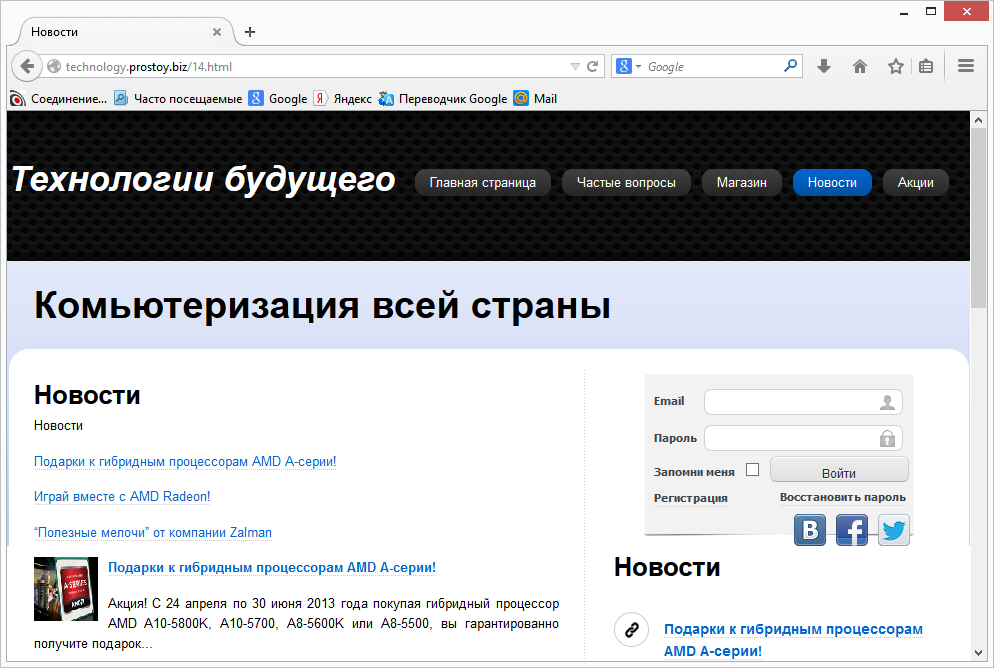
- <user:! registered> </ user:! registered>
Hello guest
- a logical element whose contents will be displayed only if the current user role is "not" as specified here.
- <config: allowlogin> </ config: allowlogin>
- a logical element whose contents will be displayed only if authorization is allowed in the site settings. ! allowLogin - negation;
- <config: allowregister> </ config: allowregister>
- a logical element whose contents will be displayed only if registration is allowed in the site settings;
- <config: allowrecover> </ config: allowrecover>
- a logical element whose contents will be displayed only if the password is allowed in the site settings;
- <page: page_id> </ page: page_id>
<page:> is a logical element whose contents will be displayed only if the current page of the site and the page id specified in the <page: structure are equal; </ page:>
- <page:! __> is a logical element whose contents will be displayed for all pages except the page specified in the <page:! The symbol "!" Means a negative. </ page:! __>
|